There are moments when I have a good idea. Lately these are few and far between, so when they happen I have extra appreciation (with a little added self-fanfare for effect).
My recent good idea came in the aftermath of my five-year-old's birthday party. Since I was running with the party-planning momentum, I planned out the upcoming double third birthday party I'd be having in a few months. One of the big hits from my five-year-old's birthday was a piñata. I opted for the string-pull piñata instead of the whack-a-mole version and it was a hit.
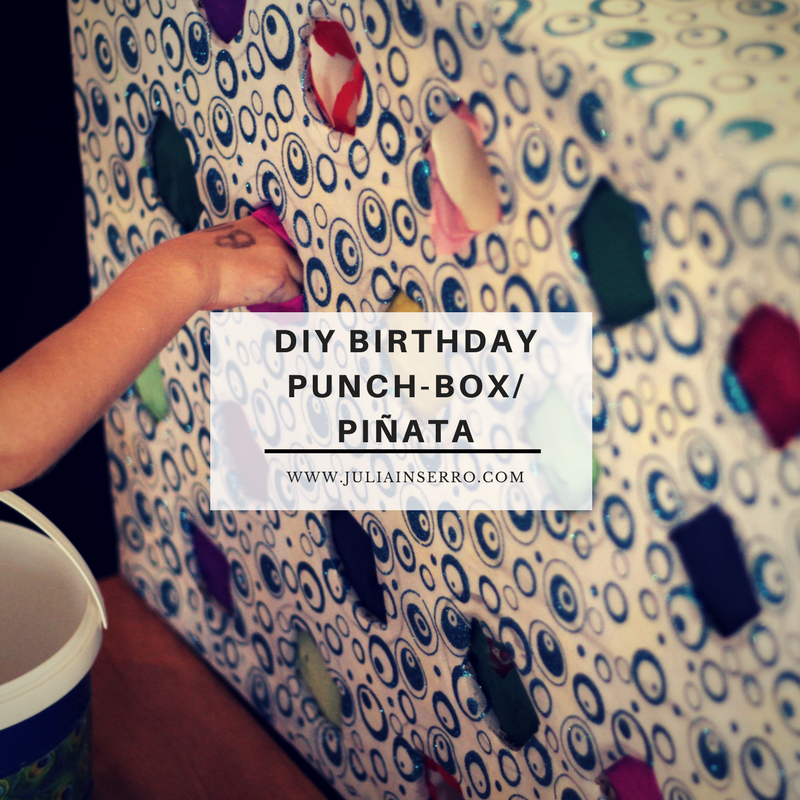
While still reeling from the high following the five-year-old's party I found myself looking at DIY piñatas for the next party. Thankfully Pinterest saved the day and scrolled this across my screen: a punch box!
I liked the string piñata, but I had two minor issues with it. One was that I had to basically pull and shake out all of the goodies inside as the hole opening just wasn't doing it. And two, was that inevitably some of the smaller kids didn't get much. So I found myself going around and pilfering from one five-year-old to give to a three-year-old and such. With the idea of a punch box, however, they would all get the exact same thing. The fairness fairy in me was delighted.
I had everything I needed, large cardboard box, some cups, and tissue paper. But of course, I couldn't just do it that way, I needed to make things a little more difficult. I decided to fill the cups with chocolate coins, little cars, and blinking rings (to go with our princesses and cars theme). And in order to assure that everyone got the exact same things, I decided to color code it.
In addition to my three kids, we were inviting seven friends. This meant 10 kids with each kid having their own individual color. Then each kid would have 3 cups to punch, which meant I needed 30 cups and 10 different colors of tissue paper. No problem.
Step one was deciding the layout with the cups.
Then tracing the cups so the holes could be cut out. I needed to make sure that the holes were slightly smaller than the cup openings, but not too small. Had to make sure that little hands could still get in there.
Next was wrapping time. Depending on what box you use, you could either paint it, wrap it, or just leave it as is. I opted to wrap it in paper. Which also meant that I needed to cut out the holes again as well. *sigh*
Next I needed to get my tissue paper, cut out three squares of each color, and then randomly tape them down.
Finally it was time to fill the cups. I made sure there were 10 cups with chocolate coins, 10 cups with racing cars, and 10 cups with flashing rings.
Then I proceeded to flip them over and tape them down. It was a great way to use up a lot of miscellaneous tape we had lying around.
Finally, because I wanted to make sure the cups didn't fall off once the box was upright, I layered the back of the box with bubble wrap to put some pressure on the cups and keep them stable. Then seal it all in!
Looks rather simple when you write it out. However, the fact that I had to do it in tiny stages and it therefore took me several weeks to complete isn't surprising. Hopefully others will be more efficient and less interrupted.
All in all, it was a huge hit at the birthday party (and with my inner fairness fairy) and I would definitely recommend it.


